The Beast Heavy Duty Full Motion TV Wall Mount With Extra Long Extension
The Beast Heavy Duty Full Motion TV Wall Mount With Extra Long Extension - Black is backordered and will ship as soon as it is back in stock.
THE BEAST
Overview
-
Features
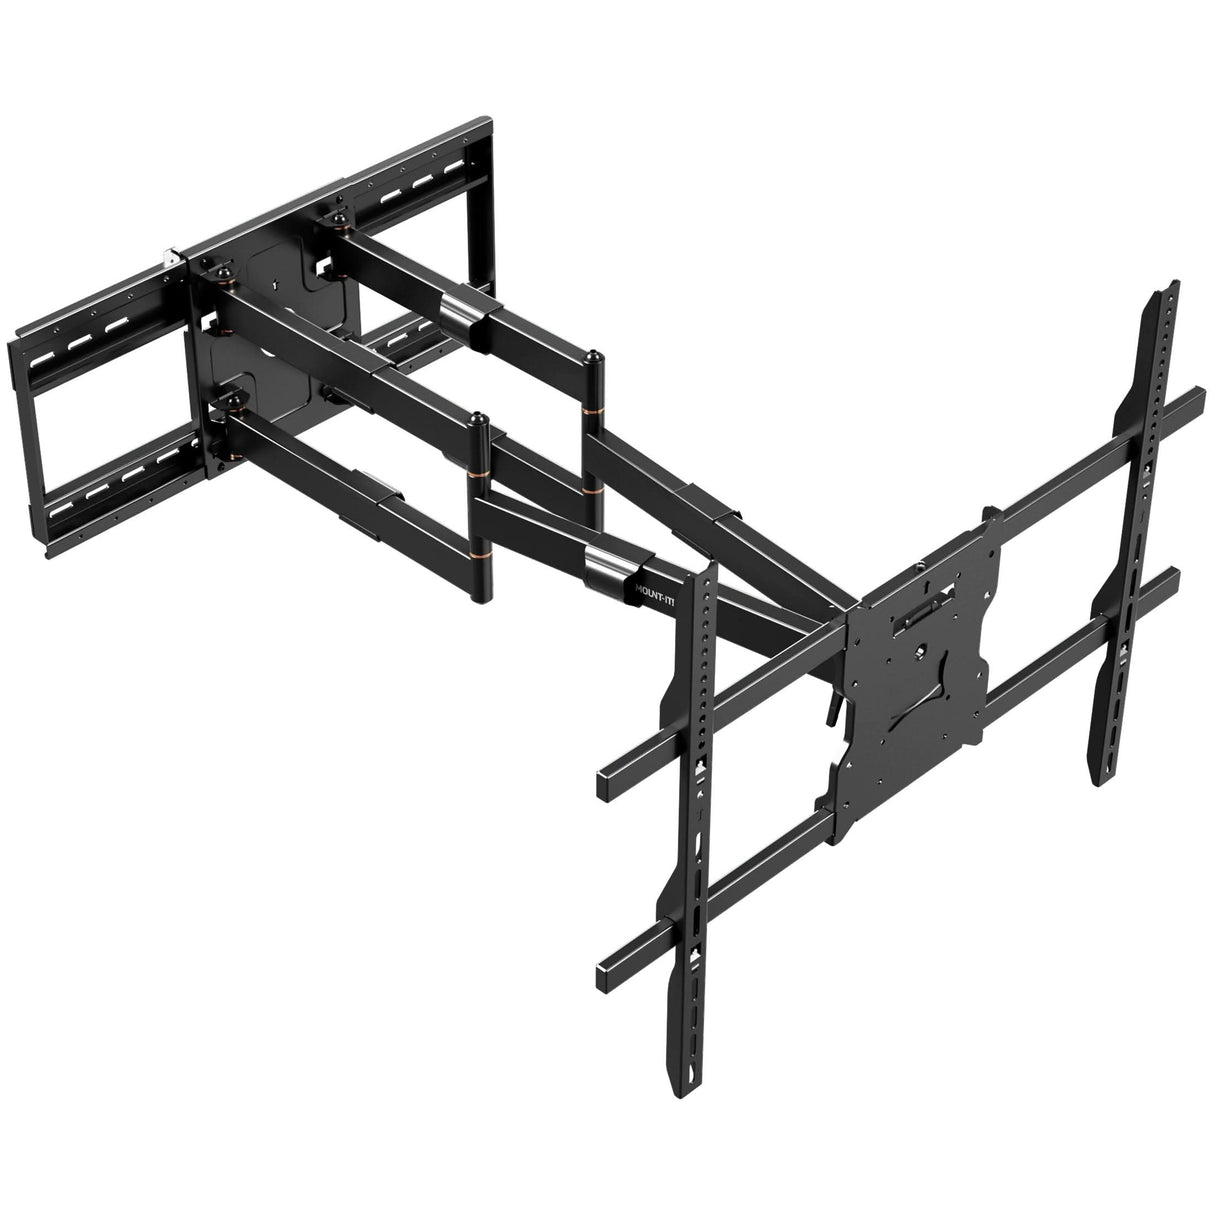
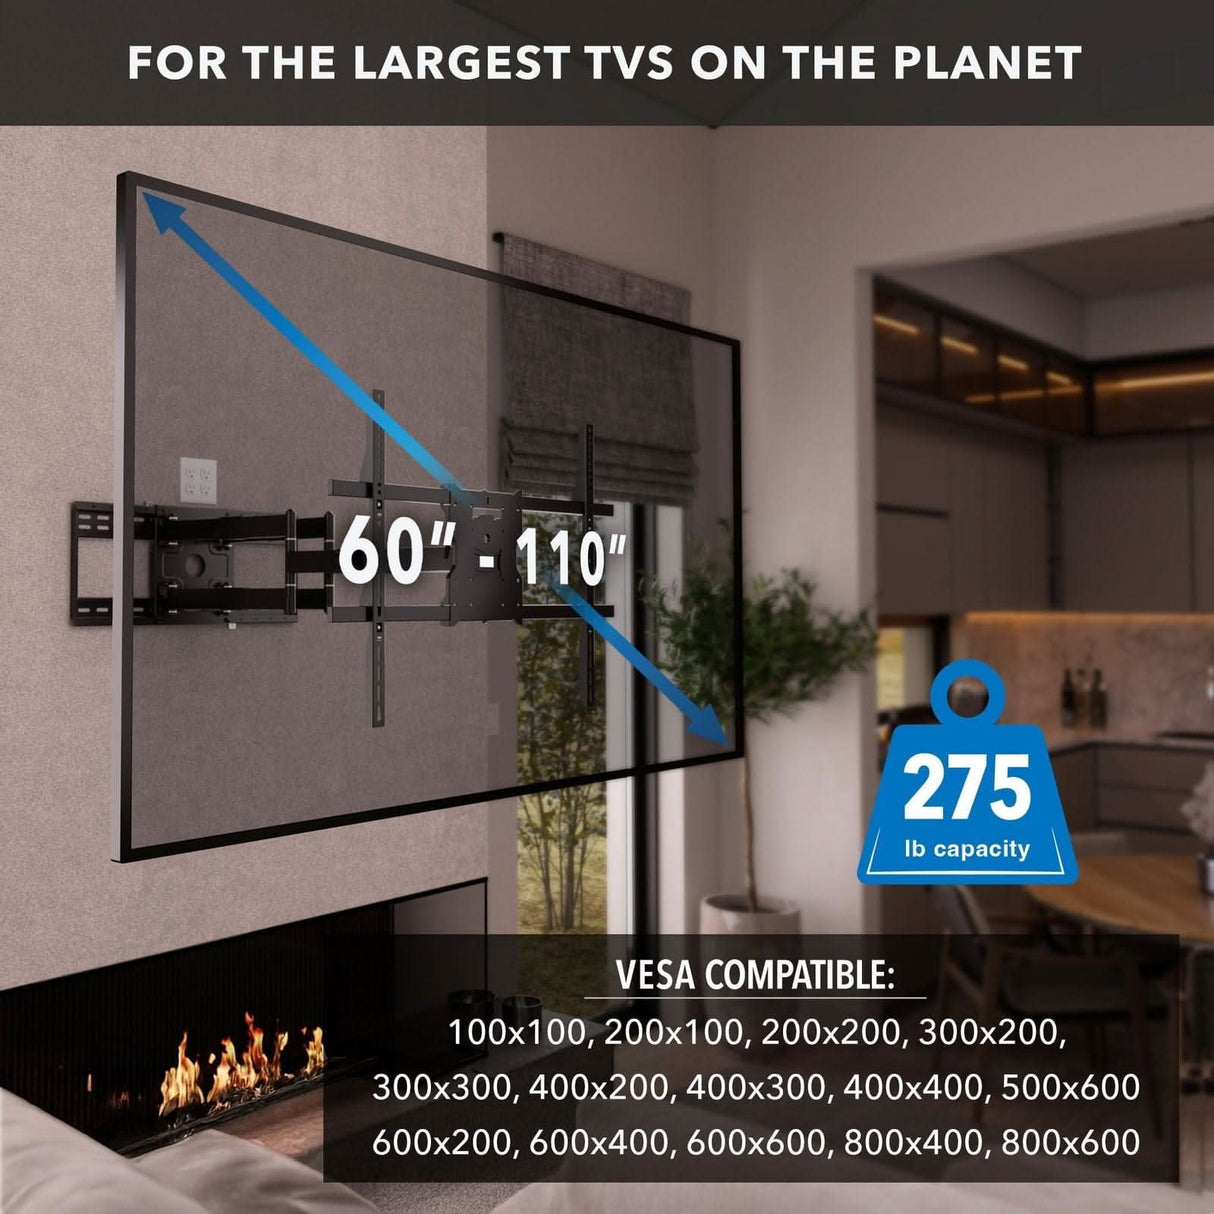
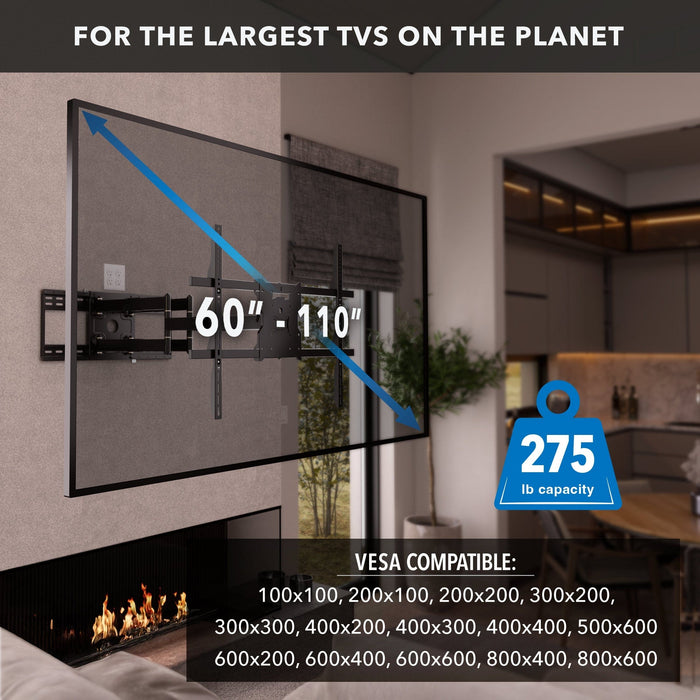
- Exceptional Weight Capacity: Supports TVs ranging from 60 to 110 inches and up to 275 pounds, ensuring stability for extra-large displays.
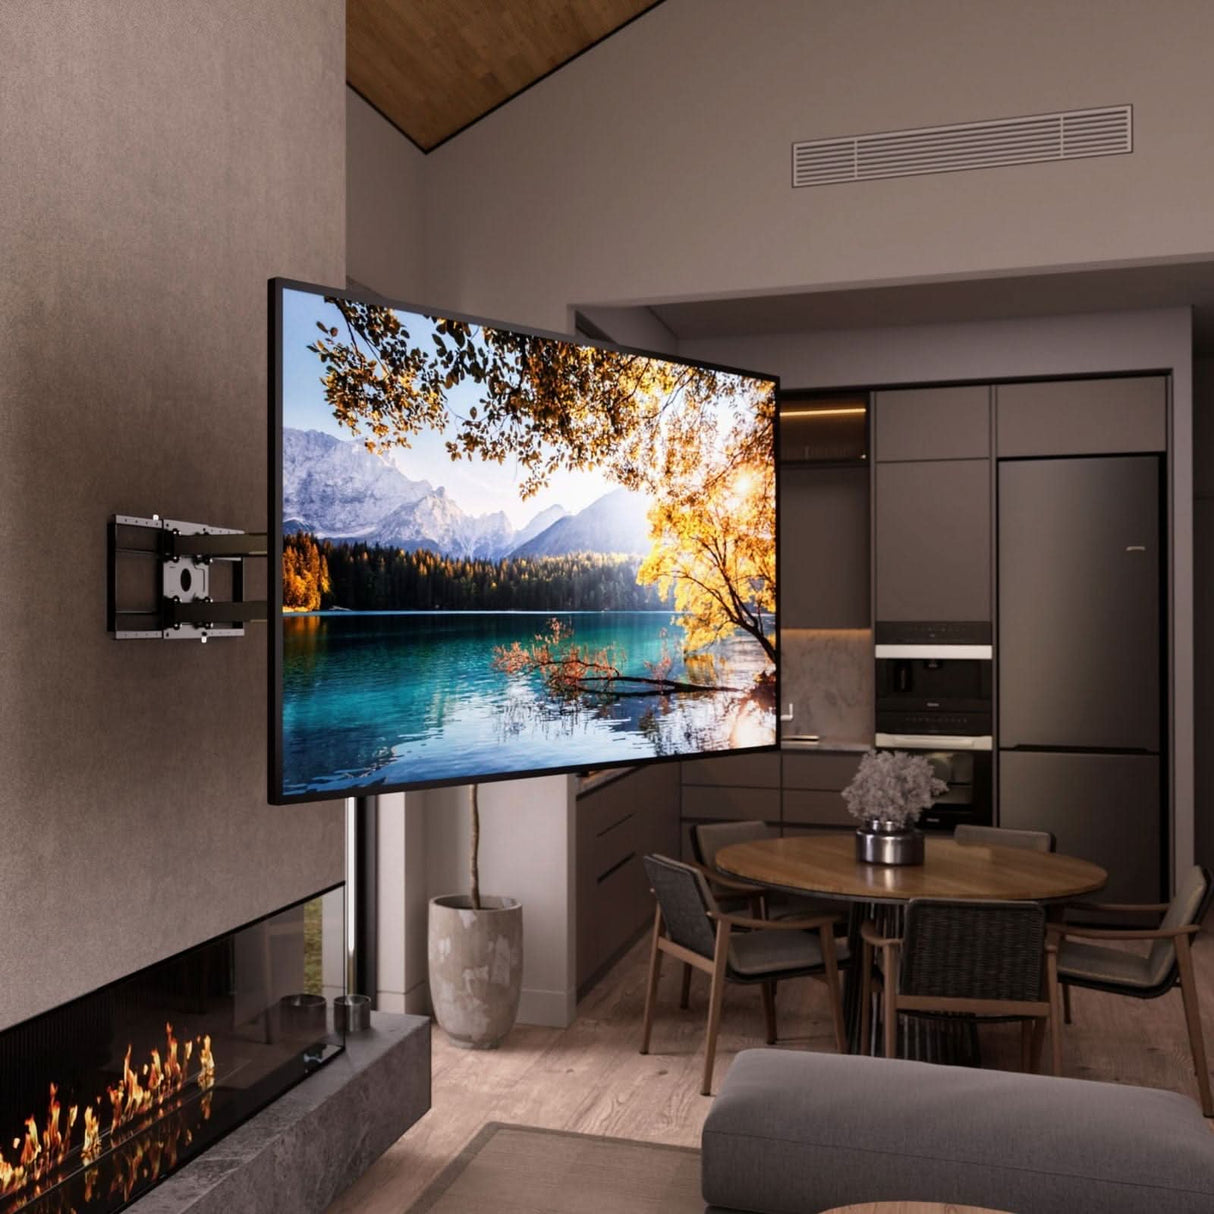
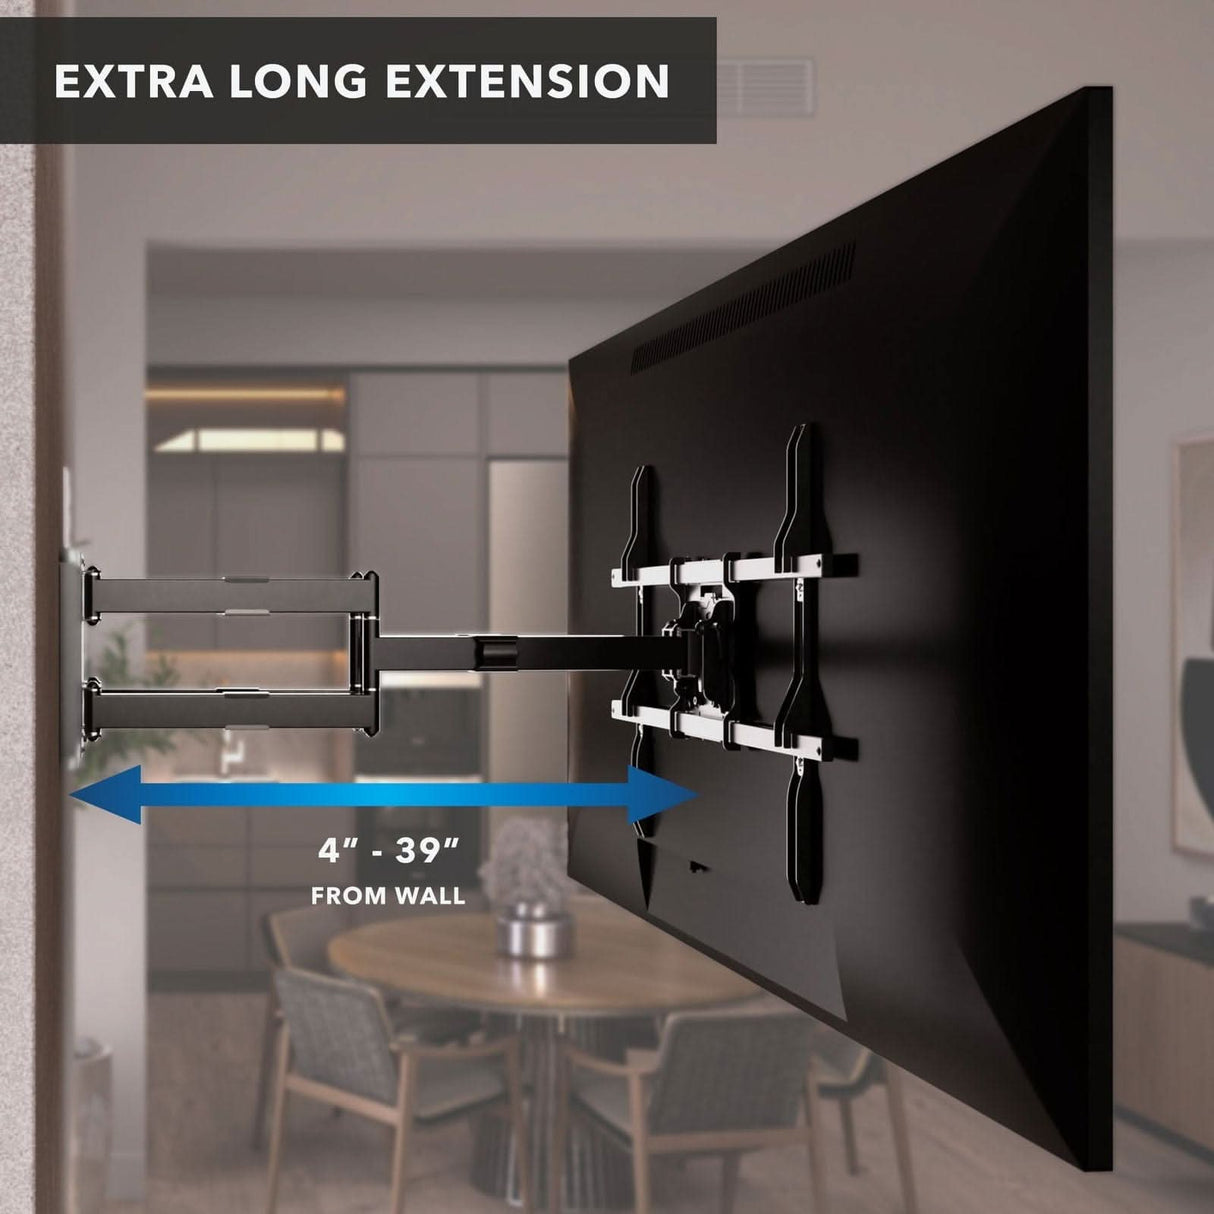
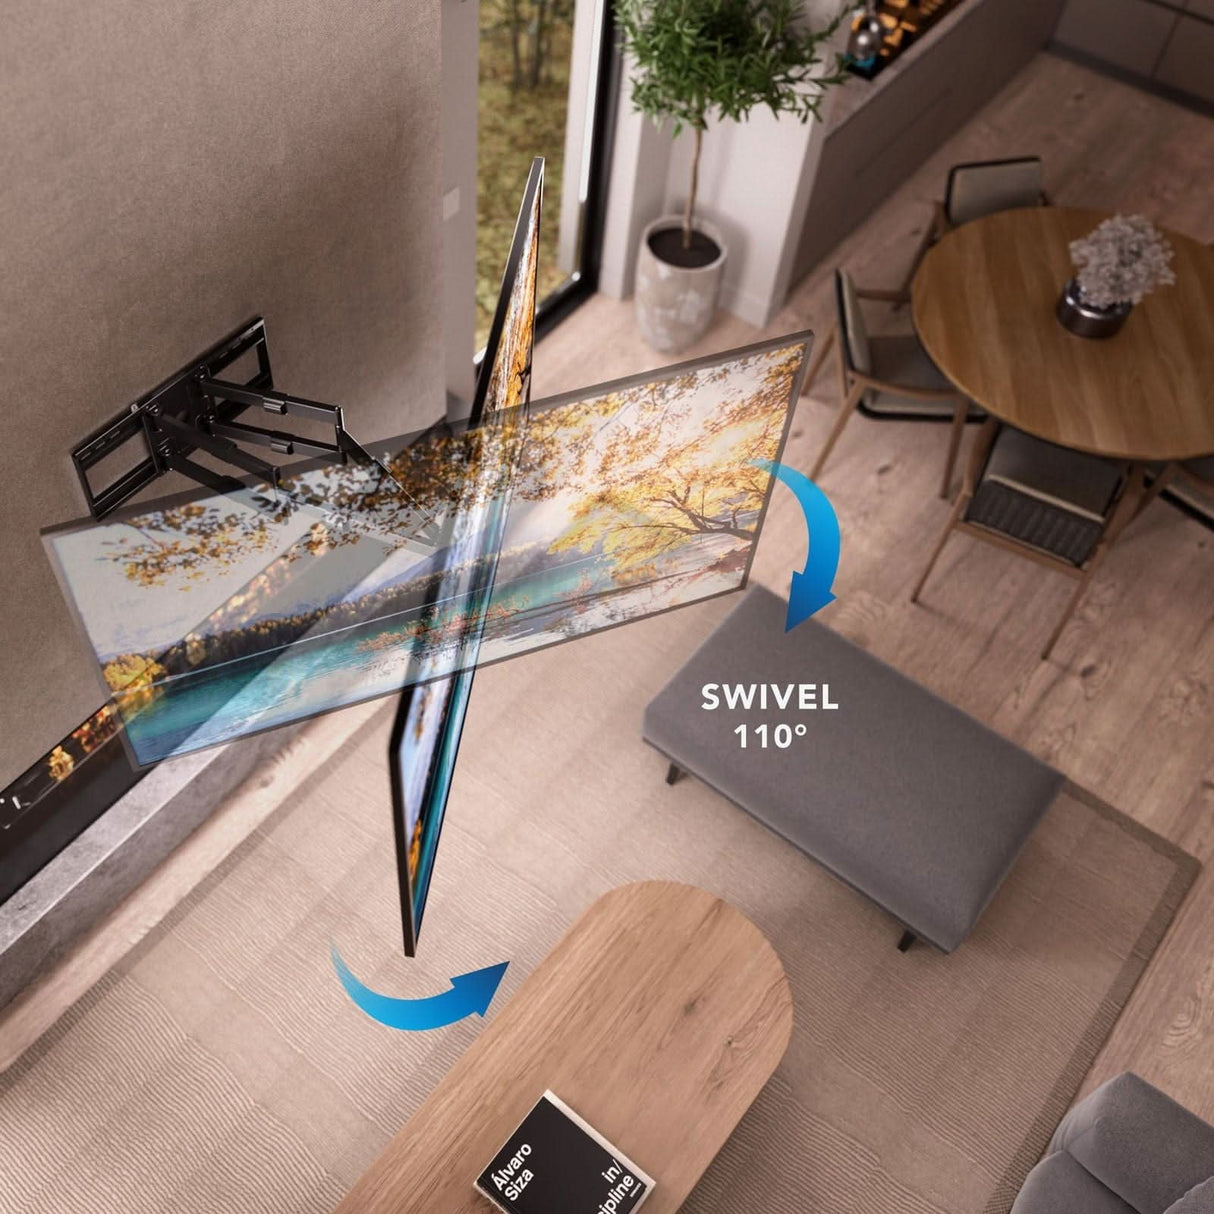
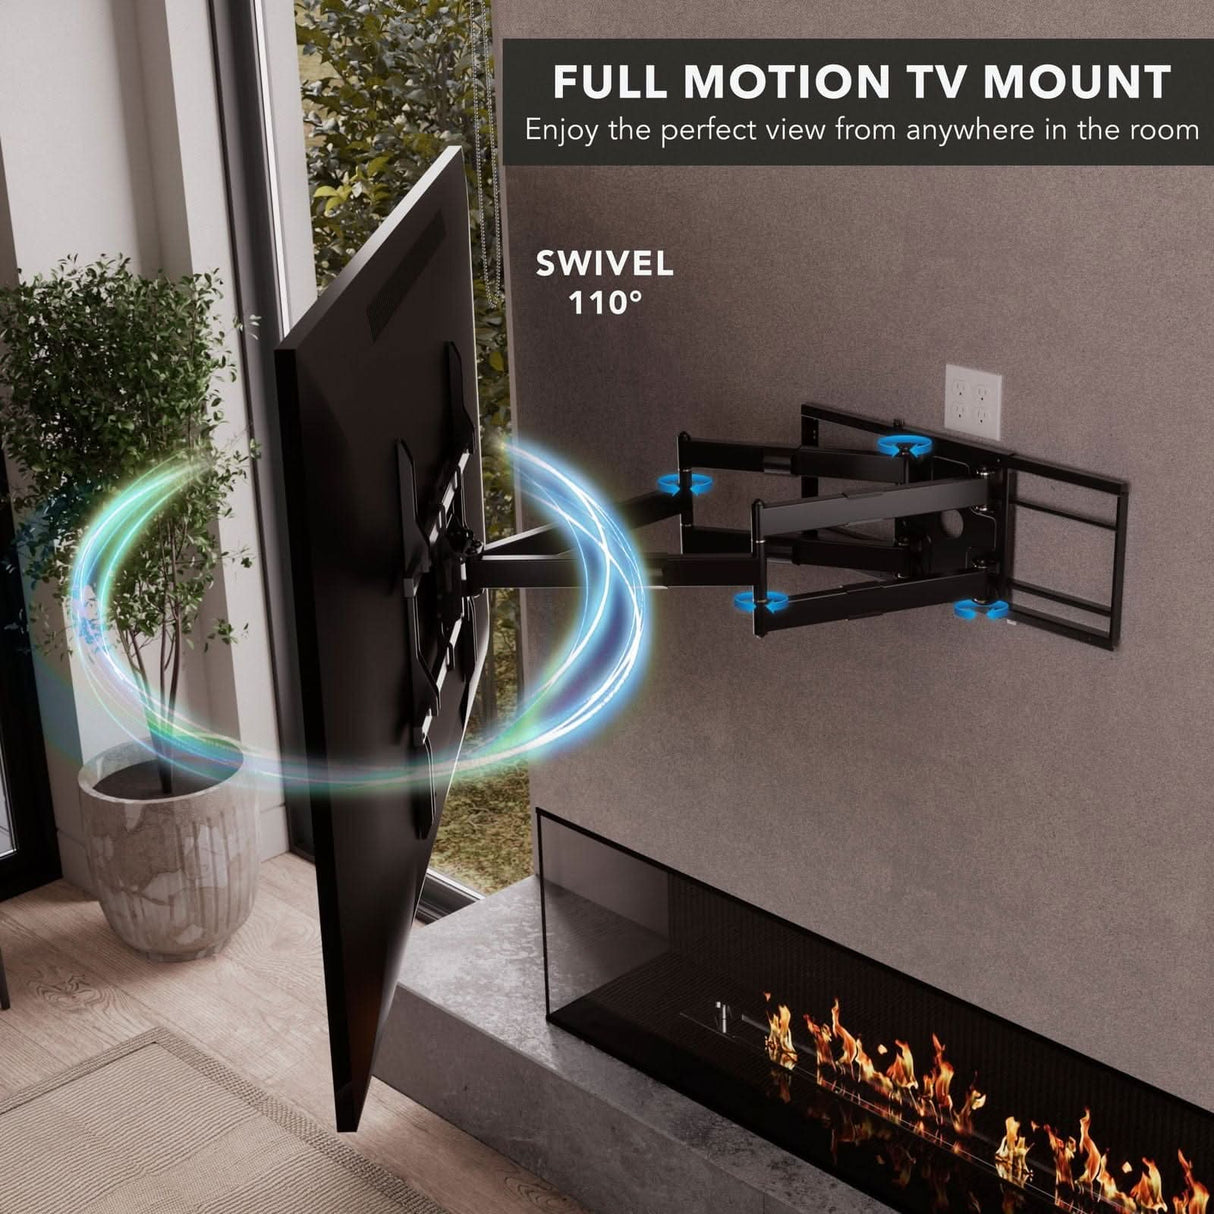
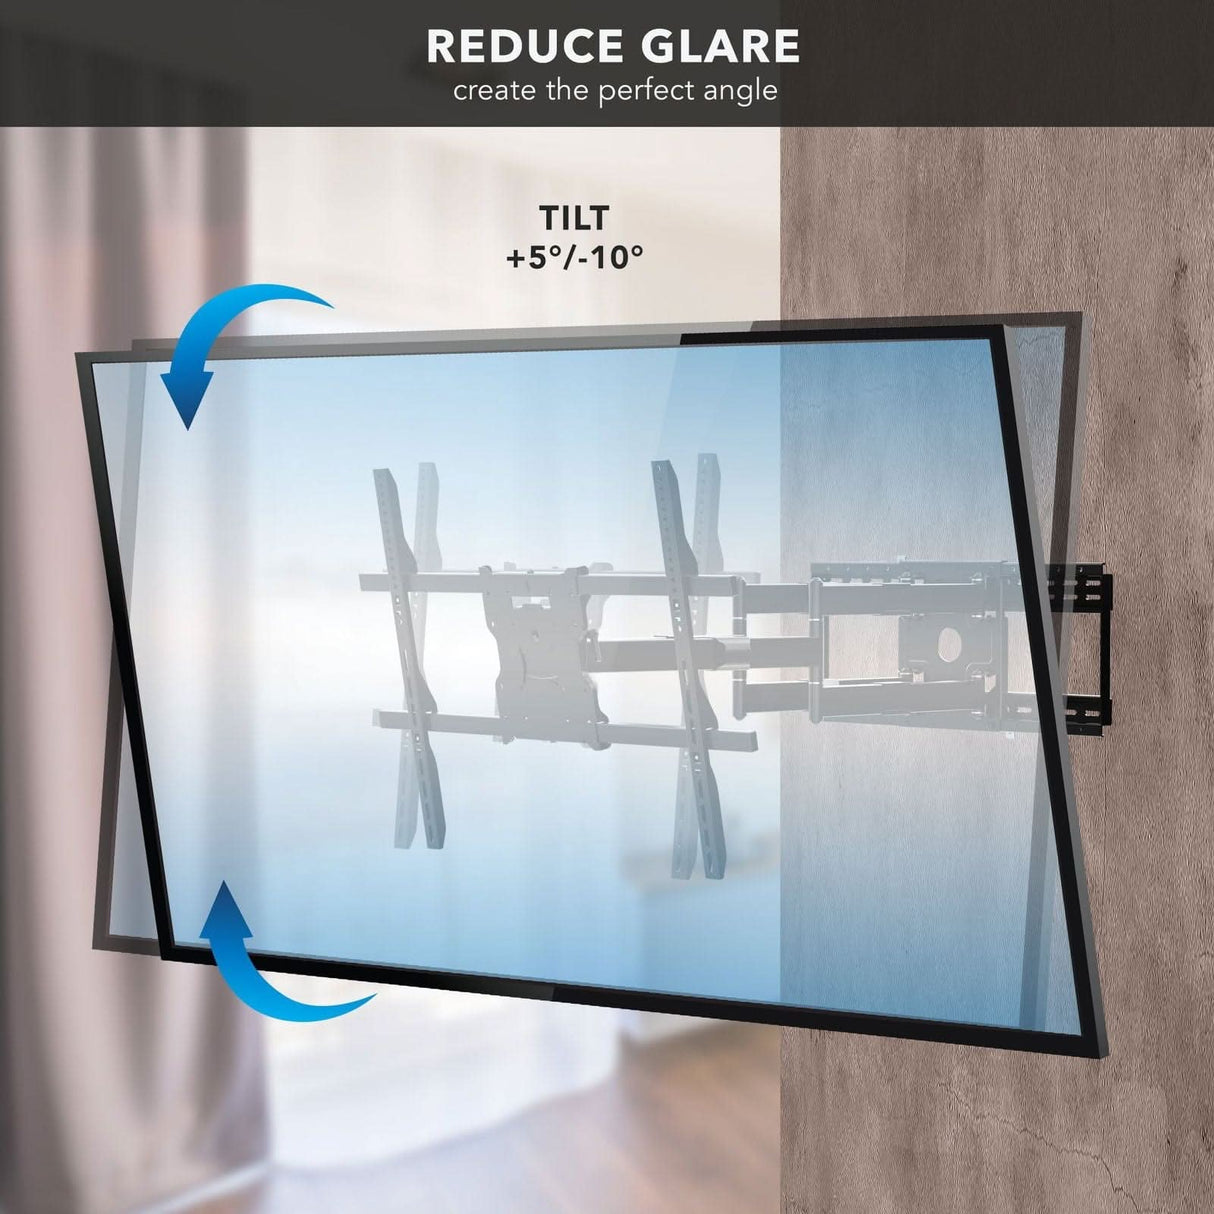
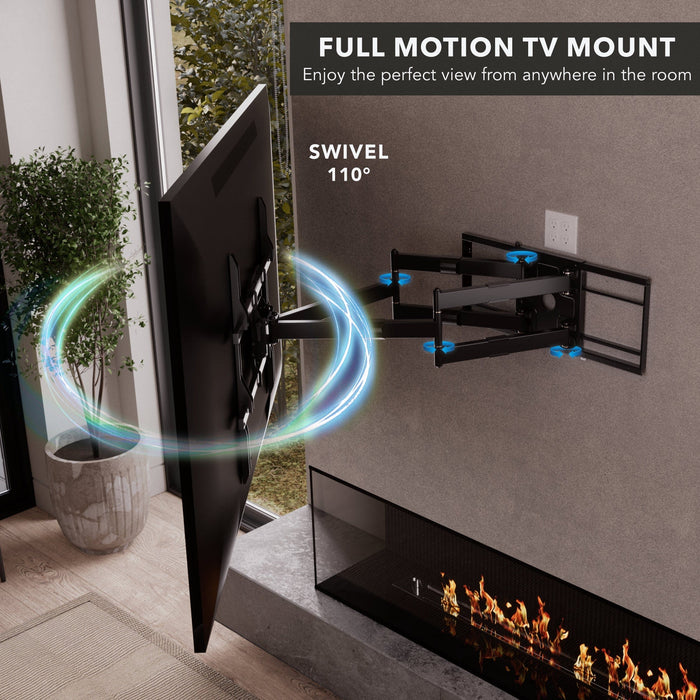
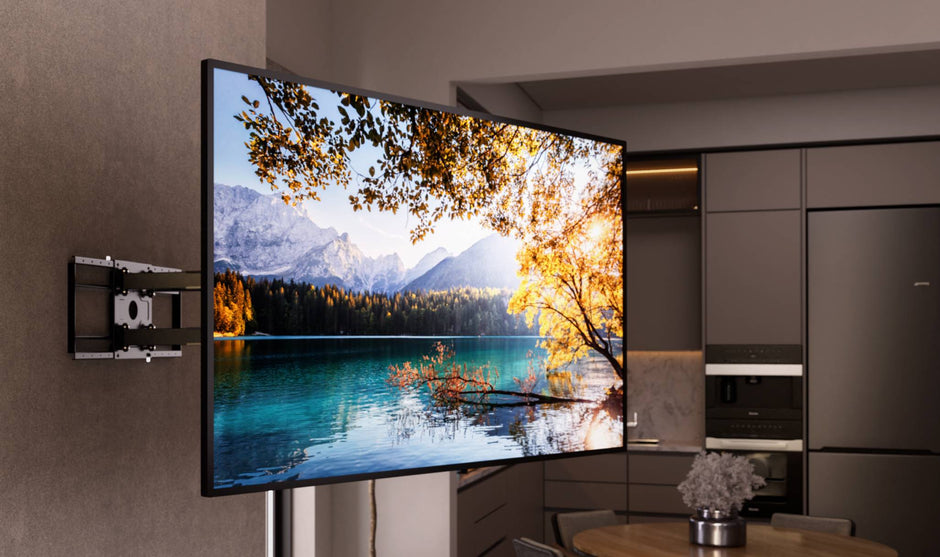
- Full Motion Articulation: Offers a wide range of motion with a 38.6-inch extension from the wall, -10° to 5° tilt, and 110° swivel adjustment, allowing you to achieve the optimal viewing angle.
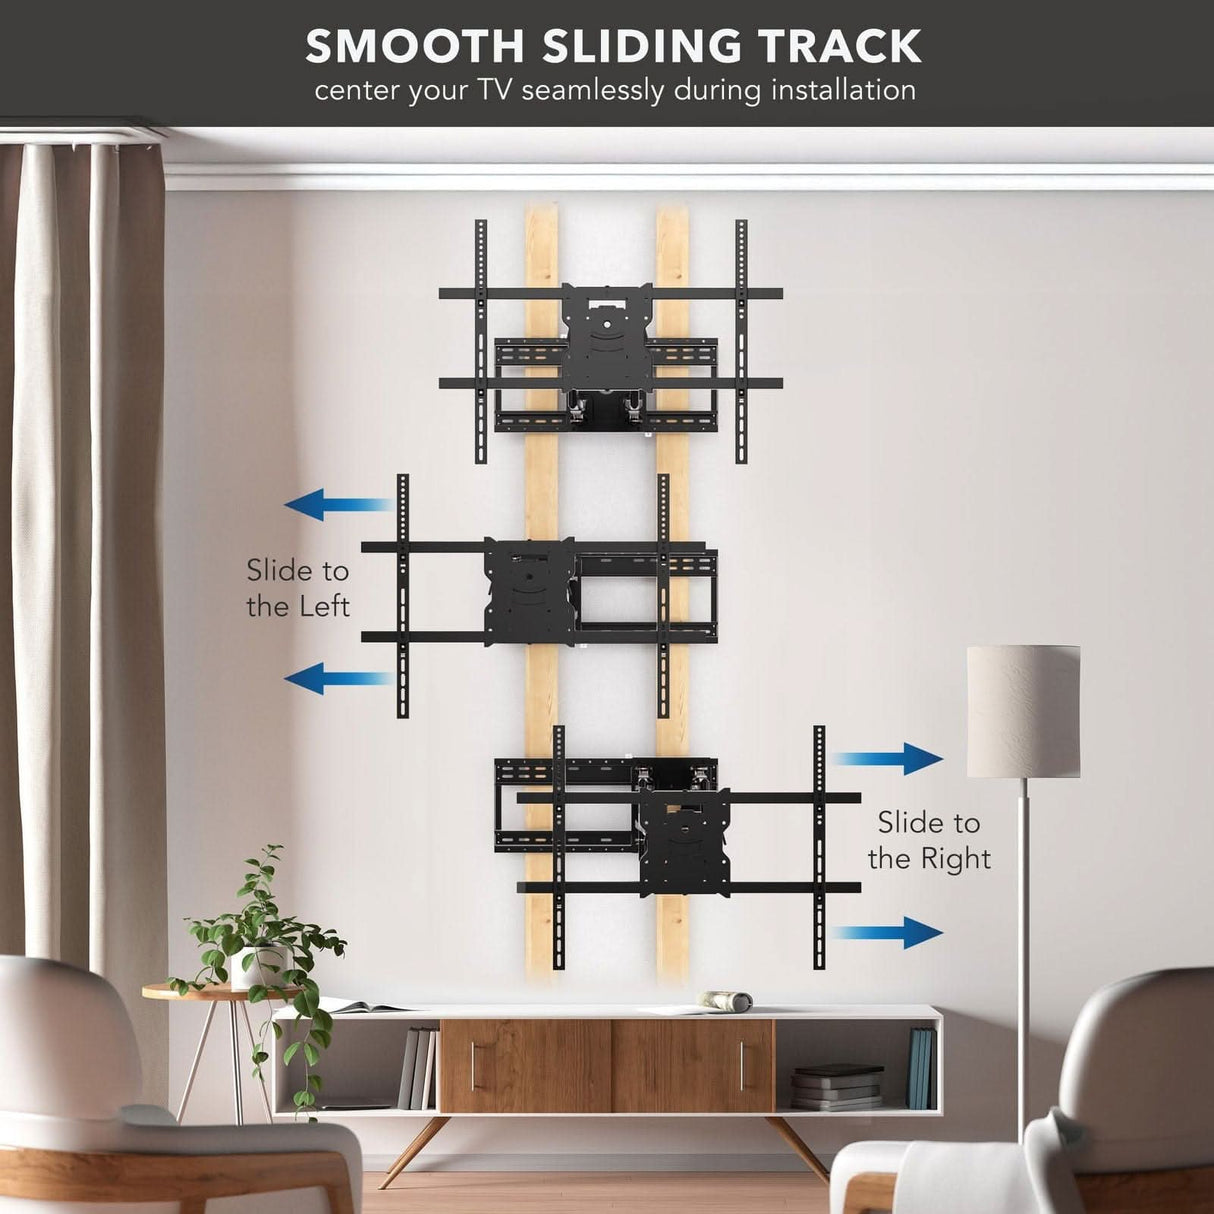
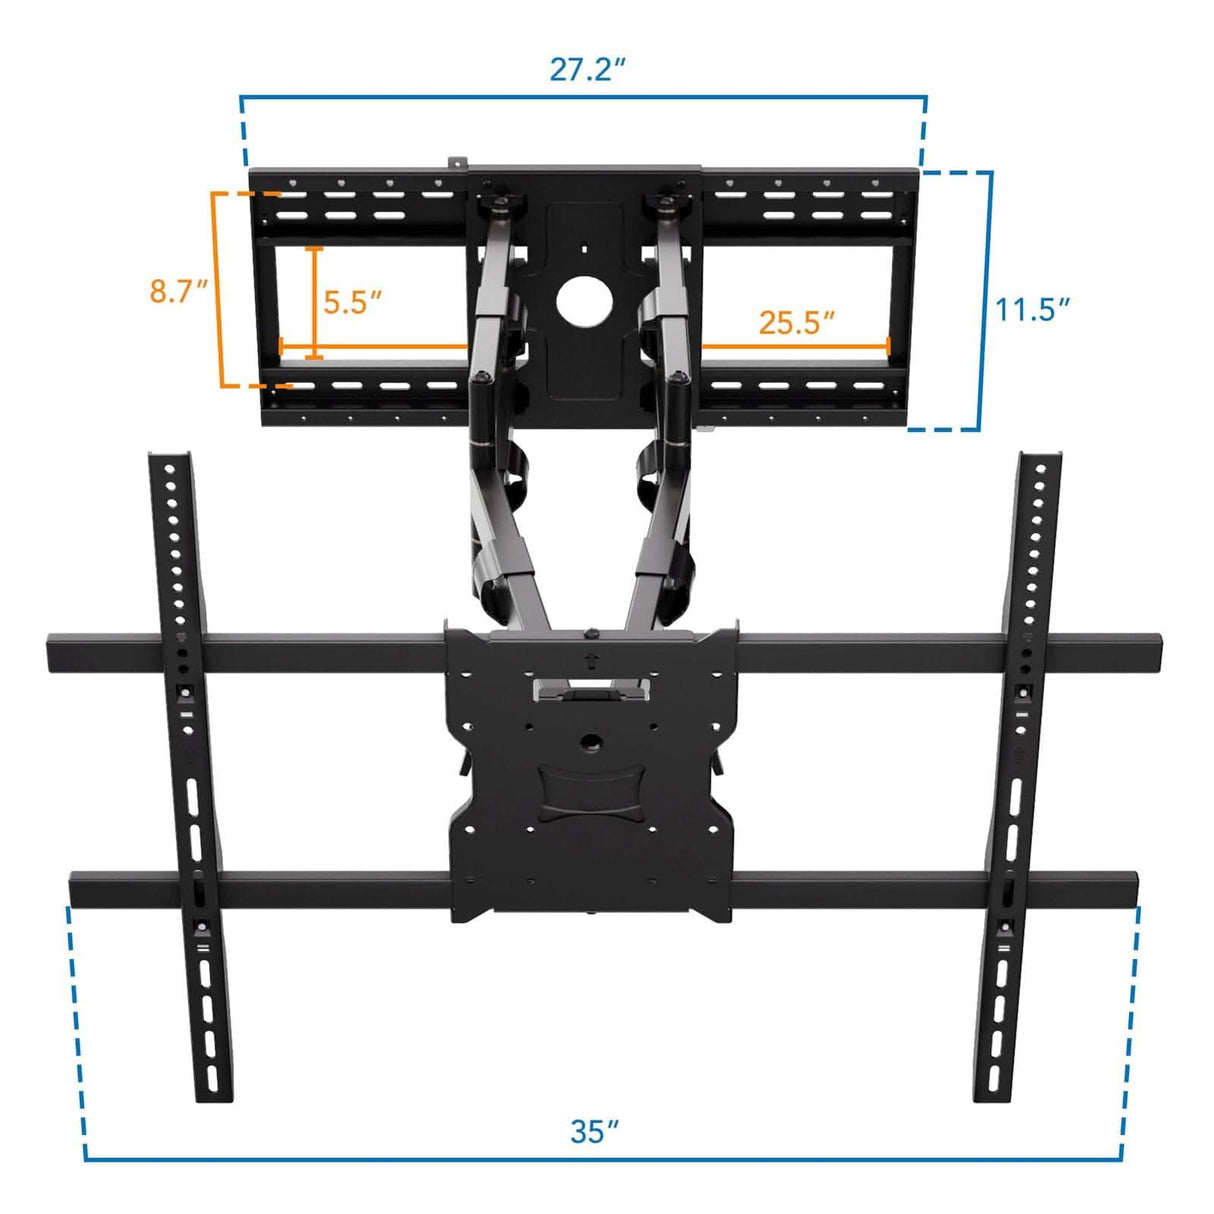
- Sliding Wall Plate: Features a sliding wall plate design for precise TV centering, enhancing viewing experience and room aesthetics.
- Integrated Cable Management: Includes built-in cable management to keep wires organized and concealed, maintaining a clean and tidy appearance.
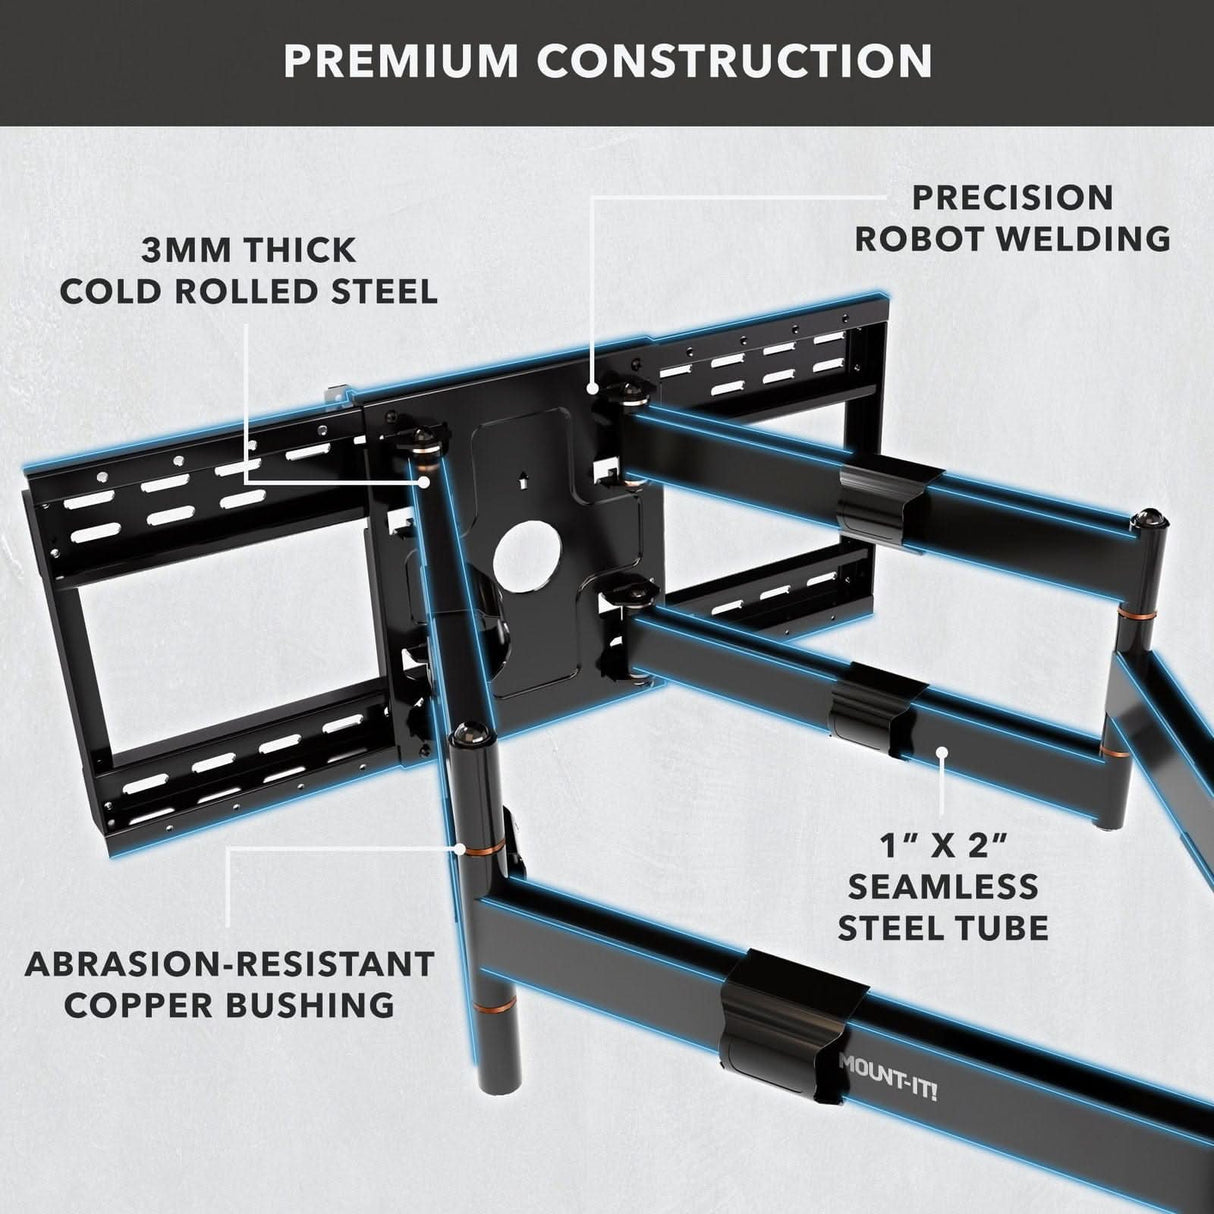
- Durable Construction: Constructed from heavy-duty steel, ensuring long-lasting durability and reliable support for your TV.
-
-
Specifications
- SKU: MI-394
Installation
To install The Beast Heavy Duty TV Wall Mount, follow these general steps based on standard wall mount installation guidelines. Always refer to the user manual provided with the product for specific details.
Tips for Safety and Success
- Always ensure the mount and TV are securely fastened at each step.
- Use a level frequently to avoid crooked installation.
- Double-check the weight and size specifications of your TV to ensure compatibility.
- Have a second person assist during installation to handle the weight of the TV safely.
Step 1:Tools you will need to install the mount?
Step 1:Tools you will need to install the mount?
You’ll need these basic tools:
- Drill and drill bits
- Level
- Screwdrivers
- Stud finder
- Measuring tape
- Pencil
- Socket wrench (optional for heavy bolts)
Step 2:Prepare for installation
Step 2:Prepare for installation
- Check the Wall Type: Confirm your wall can support the weight of the TV and mount. Typically, you’ll install this on a wood stud, concrete, or brick wall. Drywall alone isn’t strong enough.
- Locate Studs (if applicable): Use a stud finder to locate studs in the wall. Mark their centers with a pencil.
Step 3:Attach the wall plate
Step 3:Attach the wall plate
- Mark the Drilling Points: Hold the wall plate against the wall, ensuring it’s level. Use the provided template or the mount itself to mark where you’ll drill holes.
- Drill Holes: Drill into the marked points, using the appropriate bit for wood or masonry.
- Secure the Wall Plate: Use the included lag bolts or anchors to attach the wall plate securely to the wall. Double-check that it’s level.
Step 4:Hang the TV
Step 4:Hang the TV
- Lift the TV: With the help of another person, lift the TV and hook the mounting arms onto the wall plate.
- Secure the TV: Use the locking mechanism (e.g., screws, clips, or safety bolts) to ensure the TV is firmly attached to the wall plate.
Step 5:Adjust the viewing angle
Step 5:Adjust the viewing angle
- Adjust the tilt, swivel, and extension to your preferred viewing angle.
- Tighten any adjustment screws to lock the TV in place.
Step 6:Cable management
Step 6:Cable management
Use the built-in cable management system to organize and conceal cables for a clean look.
